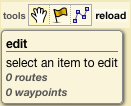
 In the GeoGarage tools (at the top left corner of the map), select :
- the flag logo in order to create waypoints on the map
- the broken line in order to create routes
Then click on the map :
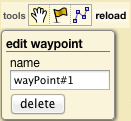
- to create some waypoints : the Edit window proposes you to enter the name of the waypoint
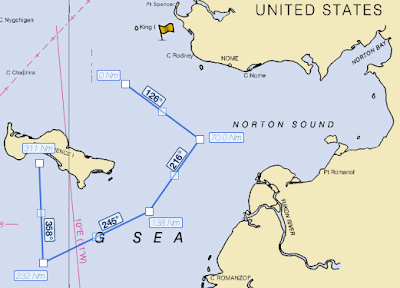
- to create some route :
Notes :
- don't forget to click twice to end the creation of the route
- the Edit window proposes you to enter the name of the route (by default 'route#1' : you can rename it selecting 'route#1' and entering a new name with the keyboard)
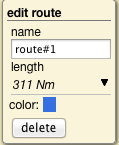
- you can also change the color of the line clicking on the blue square
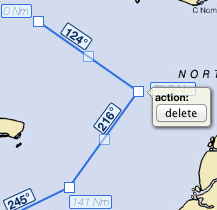
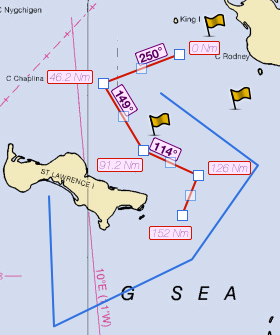
- the total length of the route is displayed (ex.: 311 Nm) : the route also shows the cumulative distance from the start for each waypoint and the bearing between each waypoint
- and you can of course choose to delete the whole route
- you can also choose to edit some of the waypoints belonging to the route, to delete it or to move it with the mouse (releasing the button of the mouse when the new position of the waypoint is correct)
Then when your navigation plan is ready, click on the 'reload button' to see all your data :
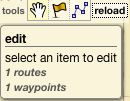 In our example, we have now 1 route and 1 waypoint.
If you have several waypoints or several routes, the Edition window displays all the list :
 To select a specific waypoint or route :
- click on the name in the 'Edition' window
- or click on the object directly on the map
No comments:
Post a Comment